%20Blog%20thumbnails%203.avif)
%20Blog%20thumbnails%203.avif)
5 Exercises for Sciatica from Lumbar Spinal Stenosis
Lumbar Spinal Stenosis is a Space Issue

When the spinal canal narrows, it reduces the space available for the nerves in the lumbar spine (Diwan et al.¹). This decreased space can lead to joint irritation, nerve compression, and even nerve damage, resulting in leg pain, muscle weakness, or altered sensation. - This is the true definition of sciatica.
An upright, extended spine further narrows this space, which is why activities like standing, walking, or reaching overhead often worsen symptoms. In contrast, bending forward or sitting can ease discomfort by creating more space.
In essence, spinal stenosis is a matter of space. To relieve symptoms, increase space within the spine, enhance range of motion, and strengthen supporting muscles. If you're experiencing leg pain or difficulty walking, take our free Pain While Walking Quiz to see if stenosis might be the cause.
Through years of clinical experience, I’ve found the following five exercises particularly effective for patients with spinal stenosis and sciatica symptoms. If you’re experiencing similar issues, I encourage you to try them—they may offer the relief you’ve been looking for.
5 Exercises for Sciatica from Lumbar Spinal Stenosis
1. Seated Lumbar Flexion

- Sit comfortably in a chair with your back relaxed and your knees slightly apart.
- Slowly look down and bend forward, reaching your hands toward the floor between your legs. Exhale gently as you move downward, and allow your lower back to stretch gently.
- Hold this forward-flexed position for 1–2 seconds, breathing naturally.
- Slowly return to an upright, relaxed posture—your back should feel at ease but not entirely straight.
- Repeat for 8 repetitions, completing two sets.
Modification Tip:
You can adjust your movement by leaning slightly more toward one side as you bend forward. For example, if you feel pain in your right leg, leaning toward your left leg may help open up the space on the right side and bring greater relief. Don’t hesitate to explore what feels best for your body—as long as you move gently and pay attention to how your symptoms respond, you're on the right track!
2. Standing Hip Extension Stretch


1. Stand facing the side of a sturdy chair, with the back of the chair in front of you for support.
2. Hold onto the chair for balance and place one foot up on the seat, keeping your posture upright and your back as straight as is comfortable.
3. Gently shift your pelvis forward until you feel a stretch through the front of the hip of the leg that’s behind you.
4. Hold this stretch for 1–2 seconds, then shift back to your starting position.
5. Repeat 15 times on each leg.
Modification Tip:
If placing your foot on a chair is too intense or uncomfortable, use a lower surface like a step stool or the bottom step of a staircase. You’ll still get a great stretch with less strain.
3. Squat with an Incline Board

- Stand with your heels on a small inclined board to slightly elevate them.
- Slowly lower yourself into a squat, going only as low as feels comfortable. Holding onto a chair or another stable surface for balance is okay.
- Focus on shifting your weight into your heels rather than your toes, and move through the squat with control.
- Keeping a slight flex in your back throughout the movement is fine, as long as you remain within a pain-free range.
- Perform 12 repetitions for two sets.
Modification Tip:
If a full squat feels too challenging at first, start with partial squats—going down about one-third or halfway. This is a great starting point; with regular practice, you'll likely build the strength and confidence to go deeper over time.
4. Forward Bend with Nerve Glides

- While standing, place a small inclined board or wedge under your toes so they are slightly elevated.
- Look down and slowly bend forward, reaching your hands toward the floor as if trying to touch your toes.
- You should feel a gentle stretch along the back of your thighs and calves. It’s perfectly okay if your hands don’t reach all the way down—go only as far as feels comfortable.
- Hold the stretch for 1–2 seconds, then slowly return to an upright position. You don’t need to come all the way up—just to a relaxed, halfway point.
- Repeat for 5 reps, two sets on each side. Please remember to keep breathing normally throughout the movement.
Modification Tip:
If you don’t have an incline board, a thick book works well as a substitute; just place it under your toes to elevate them. If you’re less flexible, be forward only to your knees. Over time, as your flexibility improves, you can gradually reach lower.
5. Modified Lunge (with Chair Support)


- Begin in a lunge position, with one foot forward and the other back. Please feel free to place one hand on a chair seat beside you for support.
- Lean your upper body slightly forward, maintaining a gentle forward flexion if you are having any back pain.
- Push down through the chair with your hand and press through the front leg to lift yourself partway up. Keep your back leg engaged and active.
- Rise about halfway up, then slowly lower back to the starting position.
- Perform 12–15 repetitions, for 2–3 sets on each side.
Modification Tips:
- For knee comfort: Place a small cushion or folded towel under your back knee.
- To reduce intensity: Start in a standing lunge position (both knees off the ground), instead of kneeling. Use a higher surface, like a table or desk, for added balance and support.
Want a complete, structured approach to these exercises? Our Pain-Free Walking with Spinal Stenosis eBook includes progressions, a Walking Calendar to track your improvement, and guidance on how each exercise should feel.
What is the Best Exercise for Spinal Stenosis and Sciatica?
Choosing just one “best” exercise for spinal stenosis isn’t easy.
As a general guideline, the most beneficial exercises for sciatica caused by spinal stenosis create more space in the spine. When you relieve pressure around the nerve roots exiting the spinal canal, you give the nerves the room to move freely, heal, and function properly. Decompressing the nerve is the critical first step.
Flexion-based exercises (which gently round the spine and increase space in the canal) are especially effective, and when combined with targeted core and hip strengthening, they create a well-rounded, long-term approach to managing symptoms and improving mobility.
What is the Newest Treatment for Spinal Stenosis?
One of the newest advancements in spinal stenosis treatment is the Total Posterior Spine (TOPS) facet joint replacement system. Traditionally, lumbar fusion surgery was the standard surgical approach. While it effectively relieved pressure on the spine and surrounding nerves, it also significantly limited mobility in the affected area.
The TOPS procedure offers a promising alternative. It decompresses the nerves and preserves spinal motion, improving functional outcomes. Although more research is needed to fully understand its long-term risks, a review by Fiani et al.² supports the procedure’s effectiveness in reducing pain while maintaining range of motion.
Other emerging treatments for spinal stenosis include:
- Seated and Self Traction
- Minimally Invasive Decompression Procedures
- Shockwave
- Dry Needling
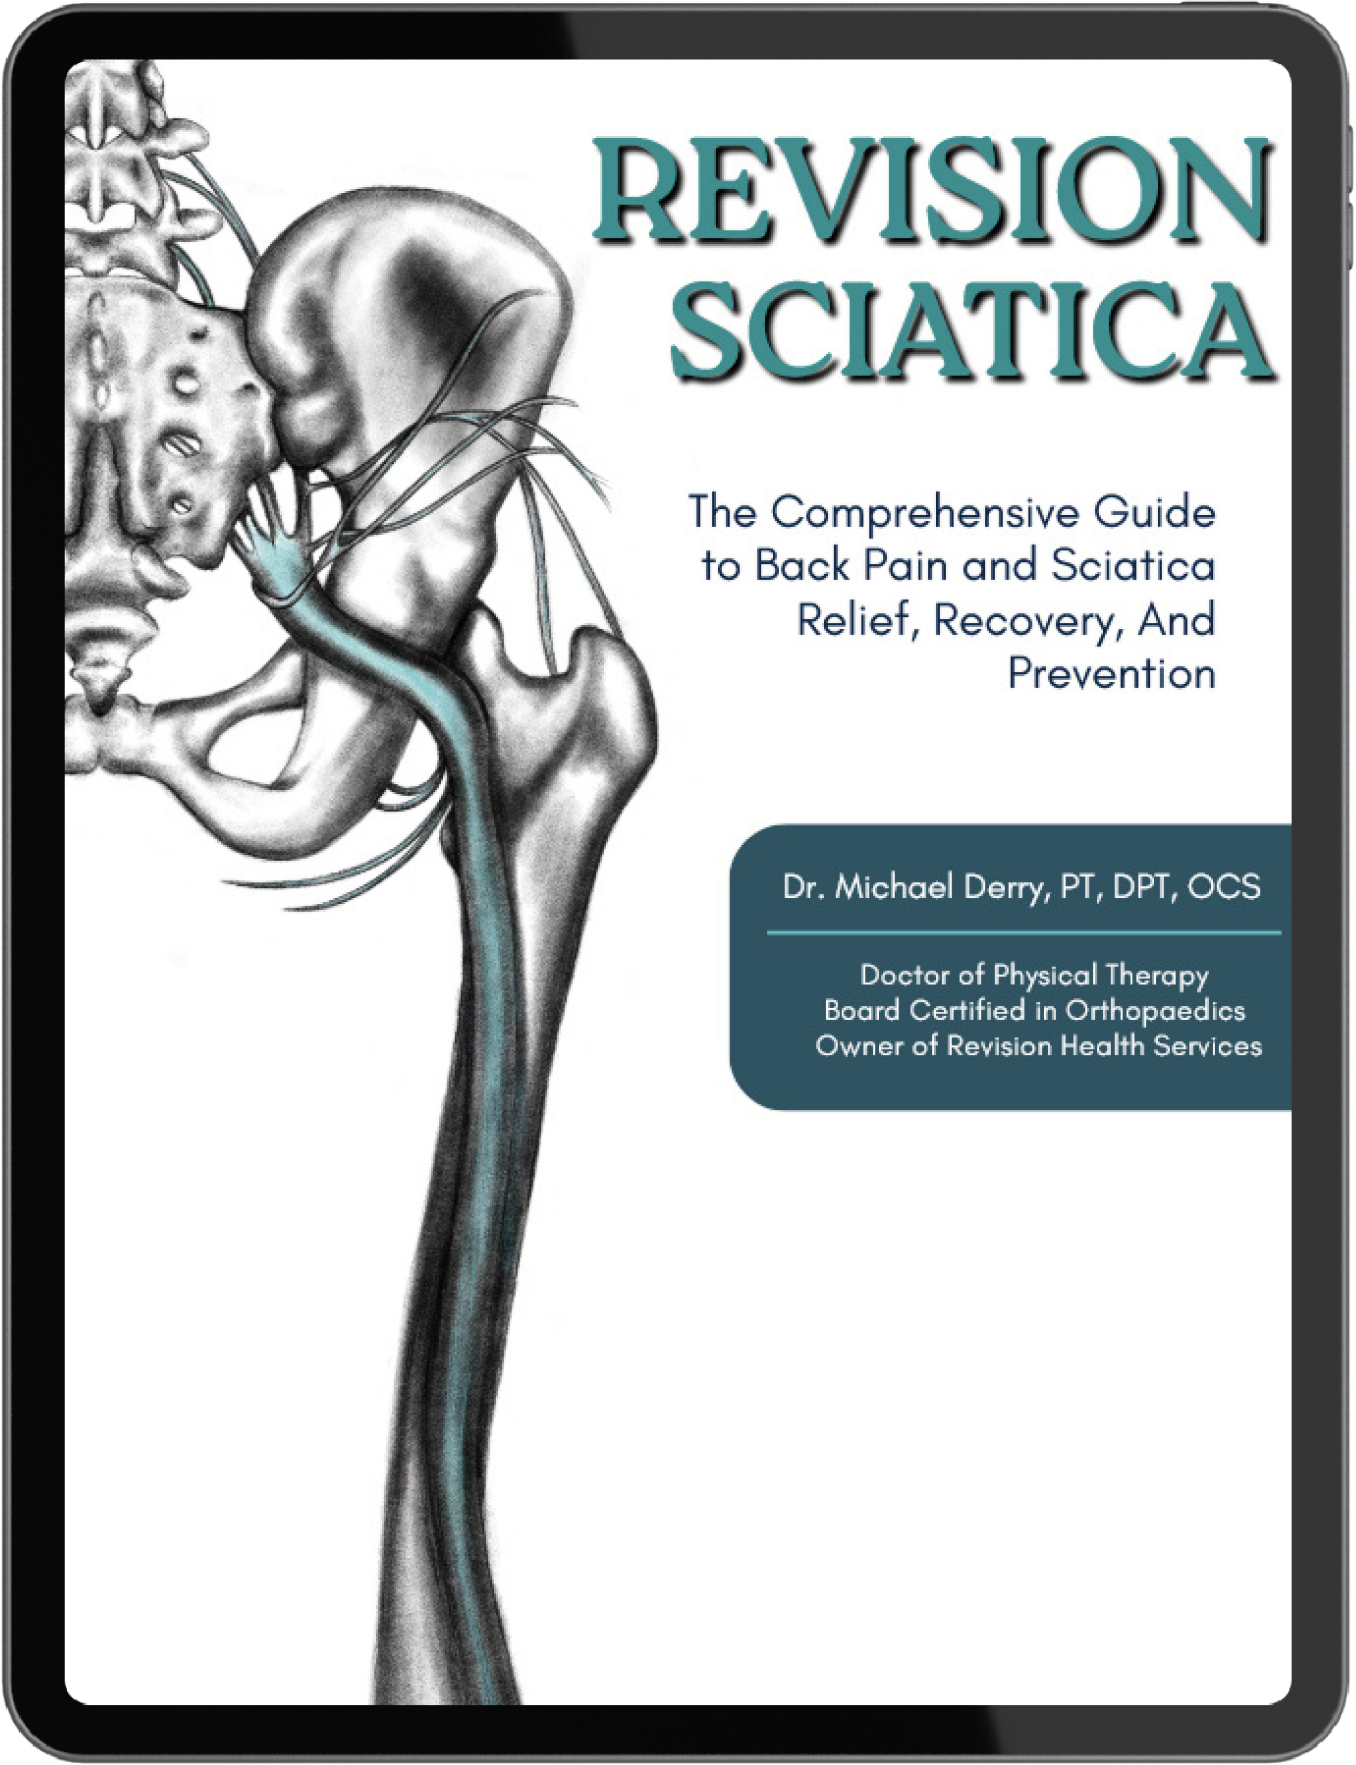
These options provide some alternatives to managing back pain and stenosis. I review these and more in my book, Revision Sciatica. This comprehensive guide reviews latest treatments and provides over 50 exercises, Free Workouts, and 8 week progressions for stenosis.

Summary
Spinal stenosis, which narrows the spinal canal and compresses nerves, can lead to sciatica symptoms like leg pain and weakness—especially during upright activities. Flexion-based exercises that open spinal space, improve mobility, and reduce pain are key to symptom relief and long-term function. You can find five effective exercises that help decompress nerves and improve movement patterns. It also touches on new treatment options like the TOPS facet joint replacement, offering less invasive alternatives to traditional spinal fusion surgery.
Lumbar Spinal Stenosis is a Space Issue
When the spinal canal narrows, it reduces the space available for the nerves in the lumbar spine (Diwan et al.¹). This decreased space can lead to joint irritation, nerve compression, and even nerve damage, resulting in leg pain, muscle weakness, or altered sensation. - This is the true definition of sciatica.
An upright, extended spine further narrows this space, which is why activities like standing, walking, or reaching overhead often worsen symptoms. In contrast, bending forward or sitting can ease discomfort by creating more space.
In essence, spinal stenosis is a matter of space. To relieve symptoms, increase space within the spine, enhance range of motion, and strengthen supporting muscles. If you're experiencing leg pain or difficulty walking, take our free Pain While Walking Quiz to see if stenosis might be the cause.
Through years of clinical experience, I’ve found the following five exercises particularly effective for patients with spinal stenosis and sciatica symptoms. If you’re experiencing similar issues, I encourage you to try them—they may offer the relief you’ve been looking for.
5 Exercises for Sciatica from Lumbar Spinal Stenosis
1. Seated Lumbar Flexion
- Sit comfortably in a chair with your back relaxed and your knees slightly apart.
- Slowly look down and bend forward, reaching your hands toward the floor between your legs. Exhale gently as you move downward, and allow your lower back to stretch gently.
- Hold this forward-flexed position for 1–2 seconds, breathing naturally.
- Slowly return to an upright, relaxed posture—your back should feel at ease but not entirely straight.
- Repeat for 8 repetitions, completing two sets.
Modification Tip:
You can adjust your movement by leaning slightly more toward one side as you bend forward. For example, if you feel pain in your right leg, leaning toward your left leg may help open up the space on the right side and bring greater relief. Don’t hesitate to explore what feels best for your body—as long as you move gently and pay attention to how your symptoms respond, you're on the right track!
2. Standing Hip Extension Stretch
1. Stand facing the side of a sturdy chair, with the back of the chair in front of you for support.
2. Hold onto the chair for balance and place one foot up on the seat, keeping your posture upright and your back as straight as is comfortable.
3. Gently shift your pelvis forward until you feel a stretch through the front of the hip of the leg that’s behind you.
4. Hold this stretch for 1–2 seconds, then shift back to your starting position.
5. Repeat 15 times on each leg.
Modification Tip:
If placing your foot on a chair is too intense or uncomfortable, use a lower surface like a step stool or the bottom step of a staircase. You’ll still get a great stretch with less strain.
3. Squat with an Incline Board
- Stand with your heels on a small inclined board to slightly elevate them.
- Slowly lower yourself into a squat, going only as low as feels comfortable. Holding onto a chair or another stable surface for balance is okay.
- Focus on shifting your weight into your heels rather than your toes, and move through the squat with control.
- Keeping a slight flex in your back throughout the movement is fine, as long as you remain within a pain-free range.
- Perform 12 repetitions for two sets.
Modification Tip:
If a full squat feels too challenging at first, start with partial squats—going down about one-third or halfway. This is a great starting point; with regular practice, you'll likely build the strength and confidence to go deeper over time.
4. Forward Bend with Nerve Glides
- While standing, place a small inclined board or wedge under your toes so they are slightly elevated.
- Look down and slowly bend forward, reaching your hands toward the floor as if trying to touch your toes.
- You should feel a gentle stretch along the back of your thighs and calves. It’s perfectly okay if your hands don’t reach all the way down—go only as far as feels comfortable.
- Hold the stretch for 1–2 seconds, then slowly return to an upright position. You don’t need to come all the way up—just to a relaxed, halfway point.
- Repeat for 5 reps, two sets on each side. Please remember to keep breathing normally throughout the movement.
Modification Tip:
If you don’t have an incline board, a thick book works well as a substitute; just place it under your toes to elevate them. If you’re less flexible, be forward only to your knees. Over time, as your flexibility improves, you can gradually reach lower.
5. Modified Lunge (with Chair Support)
- Begin in a lunge position, with one foot forward and the other back. Please feel free to place one hand on a chair seat beside you for support.
- Lean your upper body slightly forward, maintaining a gentle forward flexion if you are having any back pain.
- Push down through the chair with your hand and press through the front leg to lift yourself partway up. Keep your back leg engaged and active.
- Rise about halfway up, then slowly lower back to the starting position.
- Perform 12–15 repetitions, for 2–3 sets on each side.
Modification Tips:
- For knee comfort: Place a small cushion or folded towel under your back knee.
- To reduce intensity: Start in a standing lunge position (both knees off the ground), instead of kneeling. Use a higher surface, like a table or desk, for added balance and support.
Want a complete, structured approach to these exercises? Our Pain-Free Walking with Spinal Stenosis eBook includes progressions, a Walking Calendar to track your improvement, and guidance on how each exercise should feel.
What is the Best Exercise for Spinal Stenosis and Sciatica?
Choosing just one “best” exercise for spinal stenosis isn’t easy.
As a general guideline, the most beneficial exercises for sciatica caused by spinal stenosis create more space in the spine. When you relieve pressure around the nerve roots exiting the spinal canal, you give the nerves the room to move freely, heal, and function properly. Decompressing the nerve is the critical first step.
Flexion-based exercises (which gently round the spine and increase space in the canal) are especially effective, and when combined with targeted core and hip strengthening, they create a well-rounded, long-term approach to managing symptoms and improving mobility.
What is the Newest Treatment for Spinal Stenosis?
One of the newest advancements in spinal stenosis treatment is the Total Posterior Spine (TOPS) facet joint replacement system. Traditionally, lumbar fusion surgery was the standard surgical approach. While it effectively relieved pressure on the spine and surrounding nerves, it also significantly limited mobility in the affected area.
The TOPS procedure offers a promising alternative. It decompresses the nerves and preserves spinal motion, improving functional outcomes. Although more research is needed to fully understand its long-term risks, a review by Fiani et al.² supports the procedure’s effectiveness in reducing pain while maintaining range of motion.
Other emerging treatments for spinal stenosis include:
- Seated and Self Traction
- Minimally Invasive Decompression Procedures
- Shockwave
- Dry Needling
These options provide some alternatives to managing back pain and stenosis. I review these and more in my book, Revision Sciatica. This comprehensive guide reviews latest treatments and provides over 50 exercises, Free Workouts, and 8 week progressions for stenosis.
Summary
Spinal stenosis, which narrows the spinal canal and compresses nerves, can lead to sciatica symptoms like leg pain and weakness—especially during upright activities. Flexion-based exercises that open spinal space, improve mobility, and reduce pain are key to symptom relief and long-term function. You can find five effective exercises that help decompress nerves and improve movement patterns. It also touches on new treatment options like the TOPS facet joint replacement, offering less invasive alternatives to traditional spinal fusion surgery.
%20Blog%20thumbnails.jpg)


